What's Worn News
The Unseen Battle How Your AFL Boots Protect Your Joints on Hard Australian Grounds
The Unseen Battle: How Your AFL Boots Protect Your Joints on Hard Australian Grounds
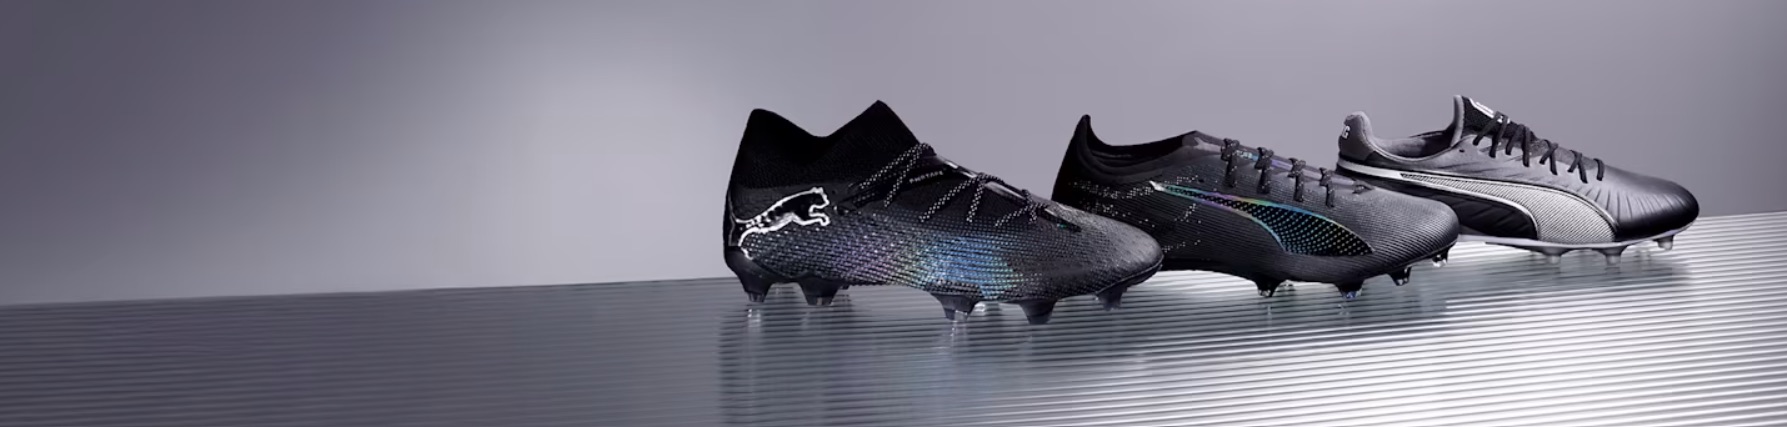
Here at What's Worn, we talk a lot about speed, agility, and kicking prowess when it comes to AFL boots. We dissect stud patterns for grip, analyse upper materials for ball control, and weigh up designs for explosive acceleration. But what about the relentless, unseen forces battling your body every time you hit the notoriously firm Australian pitches? We're talking about Ground Reaction Forces (GRFs), and your boots are your primary defence.
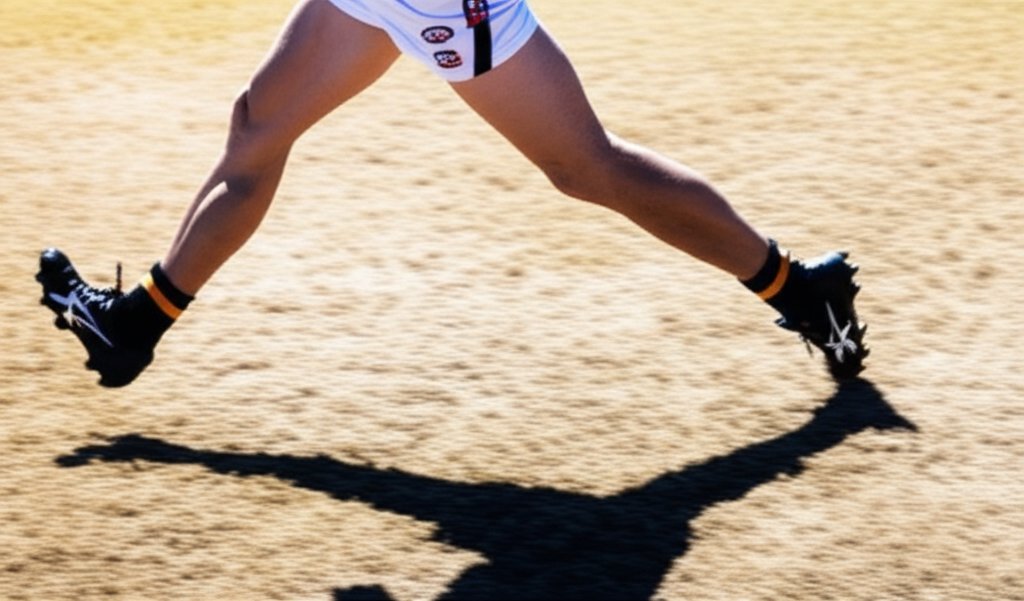
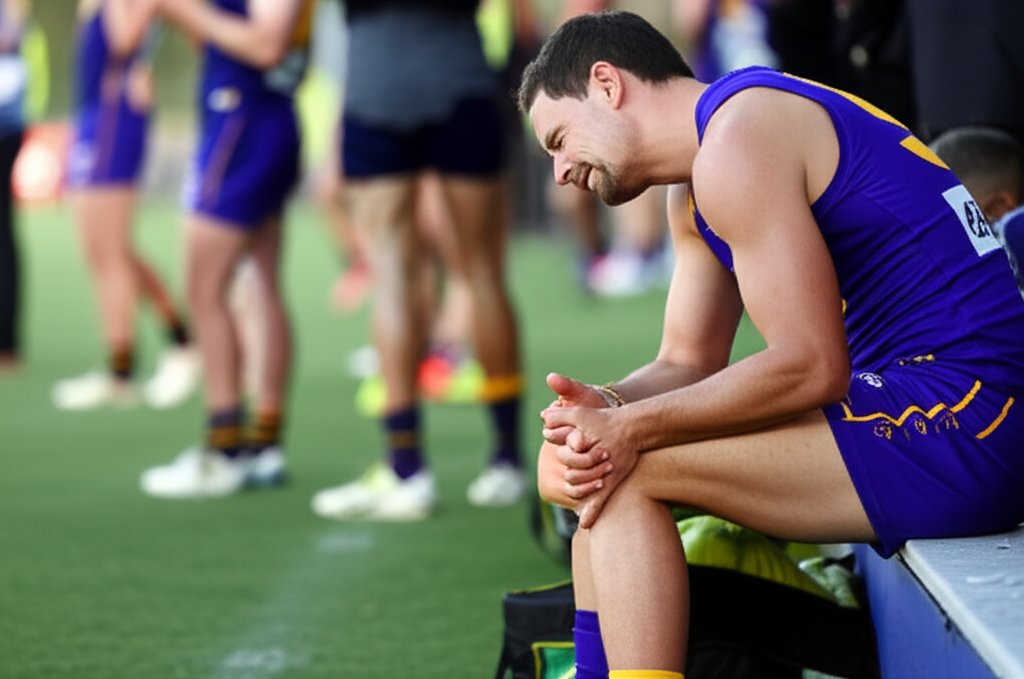
For every step, sprint, jump, or tackle, the ground pushes back with an equal and opposite force. On a soft, forgiving turf, this is less of a concern. But on the rock-hard, baked-clay surfaces often found across Australia, these forces can be immense, sending jarring shockwaves straight through your ankles, knees, hips, and even your spine. Over a long season, or indeed a long career, this cumulative impact can lead to fatigue, chronic pain, and ultimately, injury. So, how do your AFL boots stand up to this challenge? Let's break down the hidden science.
Midsoles: Your Unsung Shock Absorbers
Think of your boot's midsole as its cushioning and energy-returning engine. This often-overlooked layer, typically nestled between the insole and the outsole, is where the magic of impact absorption truly happens. Modern AFL boots increasingly borrow technology from high-performance running shoes, employing advanced foams designed to deform upon impact and then rebound, propelling you forward while mitigating stress.
Materials like EVA (Ethylene-vinyl acetate), Phylon (compression-molded EVA), or even more advanced TPU-based foams (similar to adidas's Boost or Nike's React) are engineered with varying densities and thicknesses. A softer, thicker midsole will absorb more shock, making it ideal for hard grounds and for players prioritising joint health. However, there's a trade-off: too much cushioning can sometimes reduce ground feel and responsiveness, which is crucial for quick directional changes. The sweet spot for hard grounds is a midsole that balances effective shock absorption with just enough firmness to maintain stability and agility. Don't just glance at the studs; give the boot's body a good squeeze to feel that essential squish.
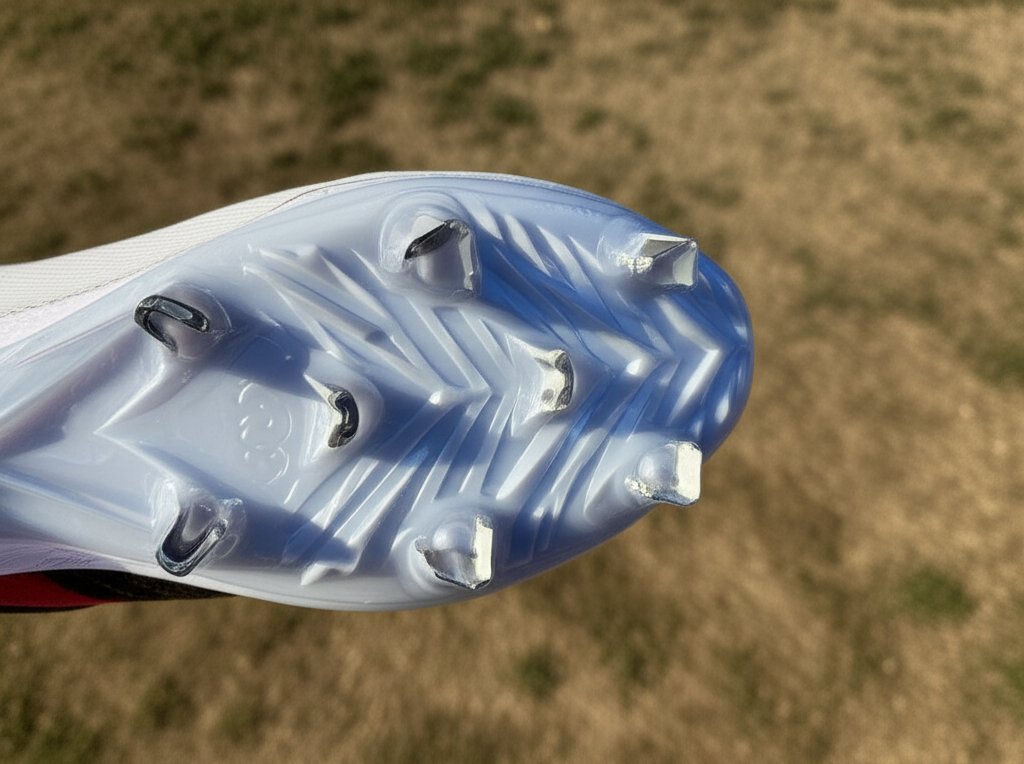
Outsole Geometry and Stud Placement: Beyond Just Grip
While stud patterns are critical for grip and traction, their design also plays a significant role in how impact forces are distributed across your foot. On hard grounds, traditional long, conical studs can become literal pressure points, effectively pushing directly into your foot and concentrating impact in small areas. This is why you often see players opting for boots with a greater number of shorter, more widely distributed studs on firm surfaces.
A higher stud count, combined with blade or multi-directional stud shapes, helps to spread the load more evenly across the entire sole of the foot. This wider distribution reduces the localised pressure on any single point, allowing the ground reaction forces to dissipate more effectively rather than being concentrated and shooting straight up your leg. When choosing boots for firm ground play, look for sole plates designed with a blend of stud shapes and a higher overall stud count, as they are engineered to provide both reliable grip and superior pressure distribution.
Upper Support and Heel Counters: The Stabilisers
It's not just what's under your foot that matters; what's around it is equally important. The boot's upper and its heel counter contribute significantly to overall foot stability, which indirectly impacts how well your body handles GRFs. A well-constructed upper, especially around the midfoot, prevents excessive foot movement inside the boot. If your foot slides around or pronates/supinates excessively, it can introduce inefficient biomechanics, leading to increased stress on joints further up the kinetic chain.
The heel counter – the rigid cup surrounding the heel – is particularly vital. A firm, supportive heel counter locks your heel in place, reducing internal slippage and providing a stable foundation for the foot to absorb impact. Without proper heel stability, your foot might try to compensate, potentially misaligning your ankle and knee, and thereby increasing the jarring effect of GRFs. Look for boots with a snug, secure fit around the heel and a sturdy heel counter that doesn't collapse easily when pressed.
The Long Game: Why This Matters for Longevity and Performance
Choosing boots designed to manage ground reaction forces isn't just about immediate comfort; it's an investment in your long-term health and performance. Players who consistently train and play on hard grounds without adequate protection are at a higher risk of conditions like plantar fasciitis, shin splints, knee pain, and even stress fractures. By mitigating these forces, your boots help reduce muscle fatigue, allowing you to maintain peak performance for longer throughout a game and across an entire season. It's about staying on the field, performing at your best, and enjoying the game for years to come.
So, next time you're lacing up for a tough match on a hard pitch, remember the silent work your boots are doing beneath your feet. They're not just about grip and feel; they're your first line of defence against the relentless forces of the game. Choose wisely, and your joints will thank you.
The What's Worn Crew