What's Worn News
The Unsung Heroes of Stability Why Your AFL Boot's Heel Counter and Ankle Collar Matter

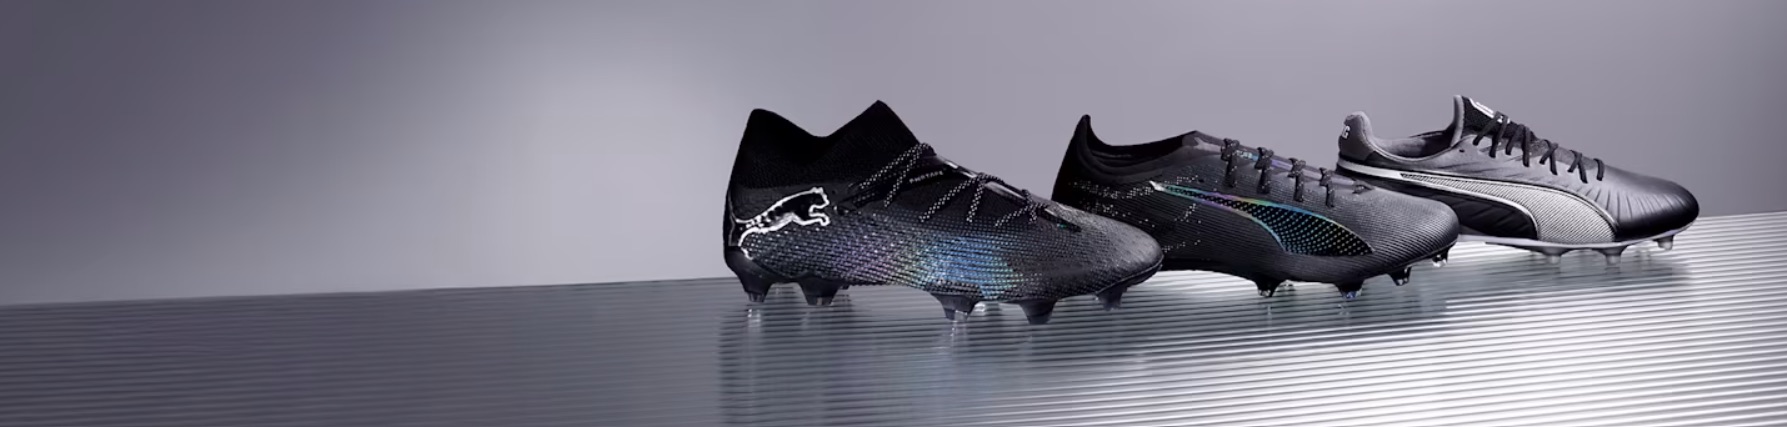
As footy players, we often obsess over the flashy bits of our boots: the sleek upper for better ball control, the aggressive stud pattern for ultimate grip, or the lightweight construction for blistering pace. And don't get us wrong, those are vital! But what about the unsung heroes working tirelessly behind the scenes, keeping your foot locked in and stable through every gut-busting sprint, bone-crunching tackle, and pinpoint kick?
Here at What's Worn, we believe that true performance and injury prevention often come down to the details. Today, we're shining a spotlight on two often-overlooked components: the heel counter and the ankle collar. These aren't just bits of plastic and padding; they're critical elements that dictate how well your foot is supported, how efficiently you can move, and how protected you are on the field.
What Are the Heel Counter and Ankle Collar?
Let's break down these essential boot features:
-
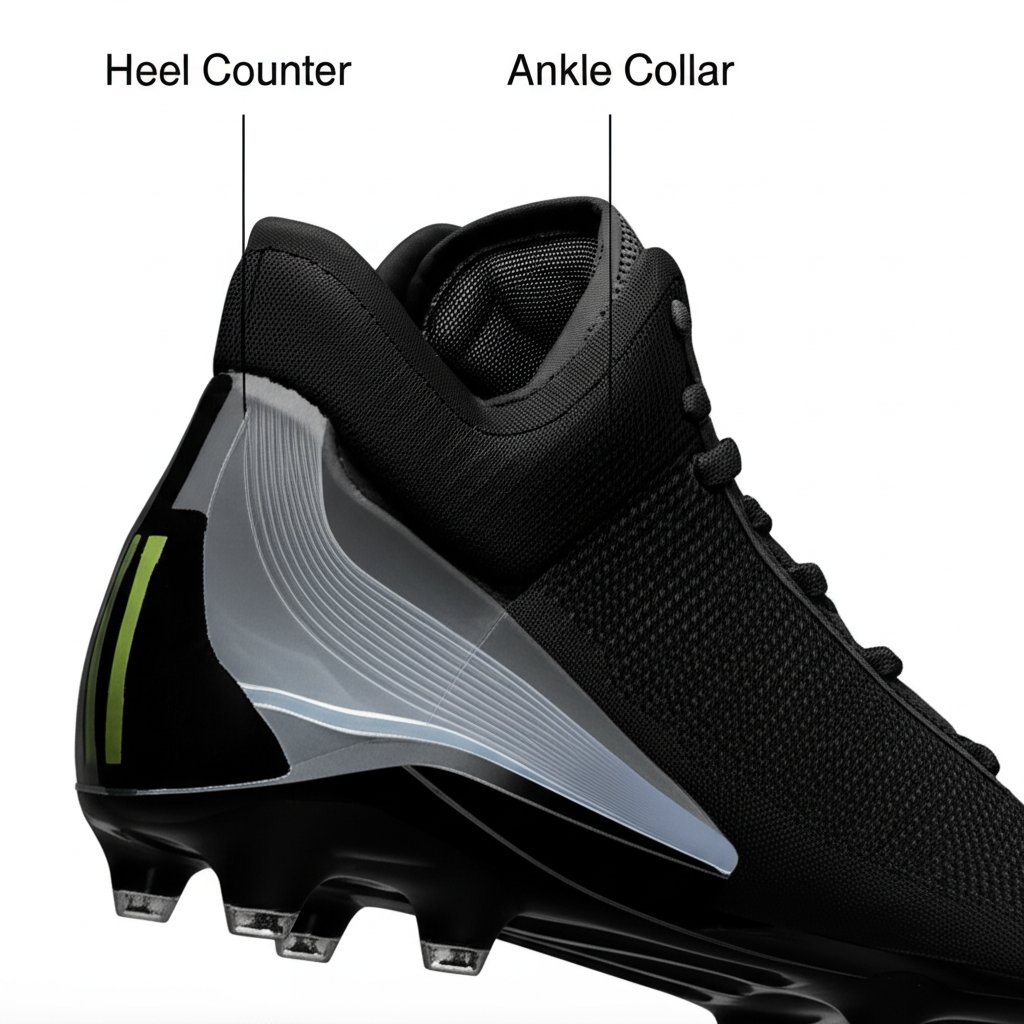
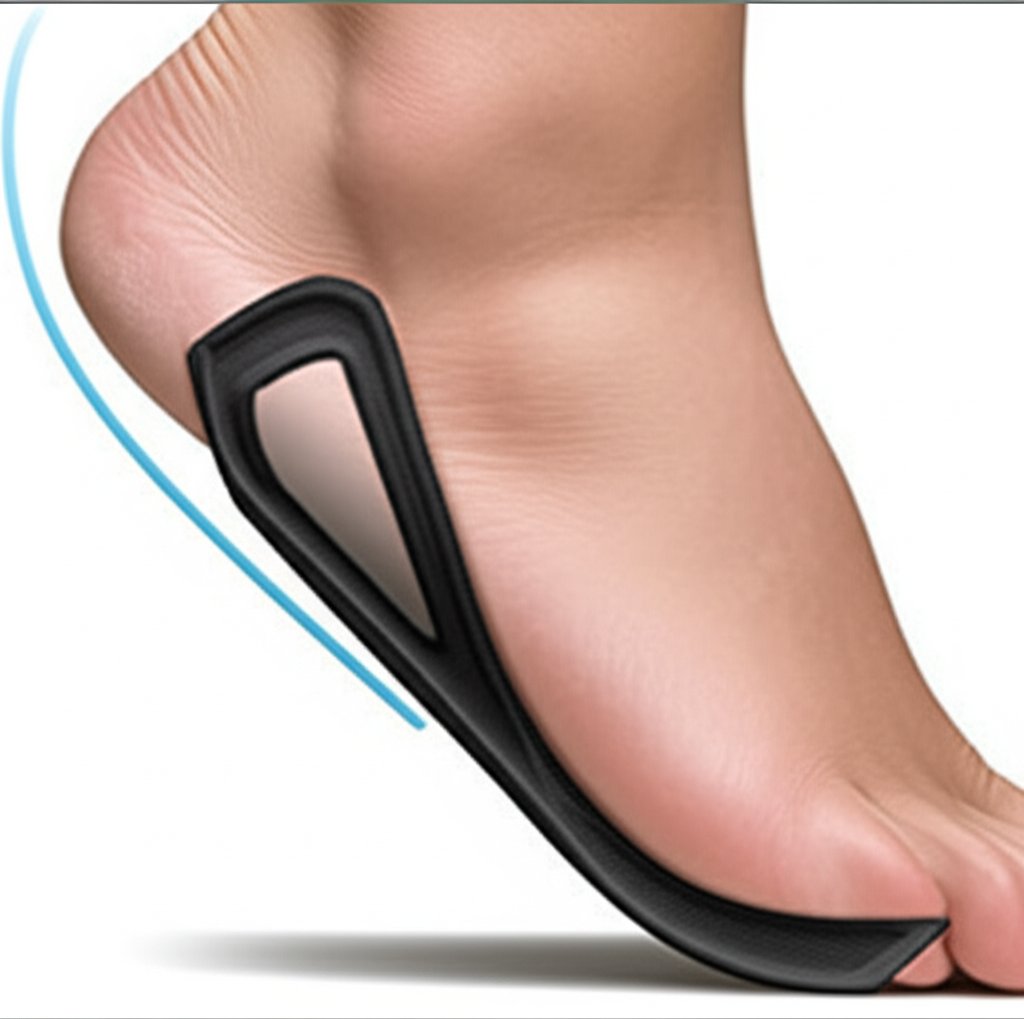
The Heel Counter: Imagine a firm, rigid cup or shell built into the back of your boot. That's the heel counter. Its primary job is to cradle and secure your heel, preventing it from sliding around inside the boot during dynamic movements. It's often made of a stiff thermoplastic or composite material, strategically placed between the outer material and the lining. Think of it as the bedrock of your boot's stability.
-
The Ankle Collar: This is the padded opening around the top of your boot where your foot enters. While its "cut" (high, mid, low) often gets the most attention, the collar's design – its shape, materials, and padding – works in tandem with the heel counter to provide comfort, support, and a snug fit around your ankle. It's the soft, supportive hug that seals the deal on your boot's fit.
Why They're Crucial for AFL Players
In the chaotic, multi-directional world of Australian Rules Football, your feet are subjected to immense forces. Quick changes of direction, explosive sprints, powerful jumps, and constant side-to-side movements demand unwavering support. This is where the heel counter and ankle collar truly earn their stripes.
-
Unmatched Stability and Lock-Down:
- Reduced Foot Slippage: A well-designed heel counter prevents your heel from lifting or sliding laterally within the boot. This "heel lock" is paramount for efficient energy transfer. Imagine trying to run a race in oversized gumboots – every step would be wasted energy.
- Enhanced Control: When your foot is locked in, you have better control over your movements. This translates to sharper cuts, more confident leaps, and a more direct connection to the ground.
-
Critical Injury Prevention:
- Ankle Support: While not a substitute for ankle braces for severe instability, a snug ankle collar and supportive heel counter contribute significantly to reducing excessive ankle movement, particularly during landing or sudden twists. They help to keep your ankle aligned with your foot.
- Blister Prevention: Heel slippage is a prime culprit for blisters. A firm heel counter keeps your foot securely in place, minimizing friction.
- Achilles Protection: Some heel counter designs offer subtle support around the Achilles tendon, which can be beneficial during repetitive high-impact activities.
-
Performance Enhancement:
- Efficient Power Transfer: When your foot isn't sliding, every ounce of power you generate is transferred directly through the boot to the ground, allowing for more explosive acceleration and powerful kicking.
- Improved Agility: Confidence in your boot's stability allows you to cut harder and change direction faster, without the hesitation that comes from a sloppy fit.
- Kicking Precision: A stable base means your foot maintains consistent contact with the ball, leading to more accurate and powerful kicks. No one wants their foot wobbling mid-snap!
Anatomy of Support: What to Look For
So, how do you spot a winning combination?
Heel Counter Types:
- Internal Heel Counter: Most common. The rigid structure is hidden within the layers of the boot. They offer a cleaner aesthetic.
- External Heel Counter: Less common in AFL boots but present in some designs, where the rigid structure is visible on the outside of the boot. These can sometimes offer a slightly more aggressive lock-down and protection.
- Pros: Excellent heel lock, often more subtle integration, protection.
- Cons: Can be difficult to "feel" their effectiveness without trying on, some cheaper versions might deform over time.
Ankle Collar Design:
- Padding: Look for adequate, but not excessive, padding around the collar. It should feel plush but not bulky, conforming to your ankle. Too much can restrict movement or trap heat; too little can lead to rubbing.
- Shape: The collar should follow the natural contours of your ankle. Some designs feature a scooped-out Achilles area for comfort, while others might be slightly higher at the back for more support.
- Material: Softer, more breathable materials are generally preferred for comfort and to prevent chafing.
- Lacing Integration: How the laces interact with the collar is also important. Some boots have lacing systems that extend higher to integrate with the collar, allowing for a more customisable and secure ankle fit.
How to Assess Them When Buying
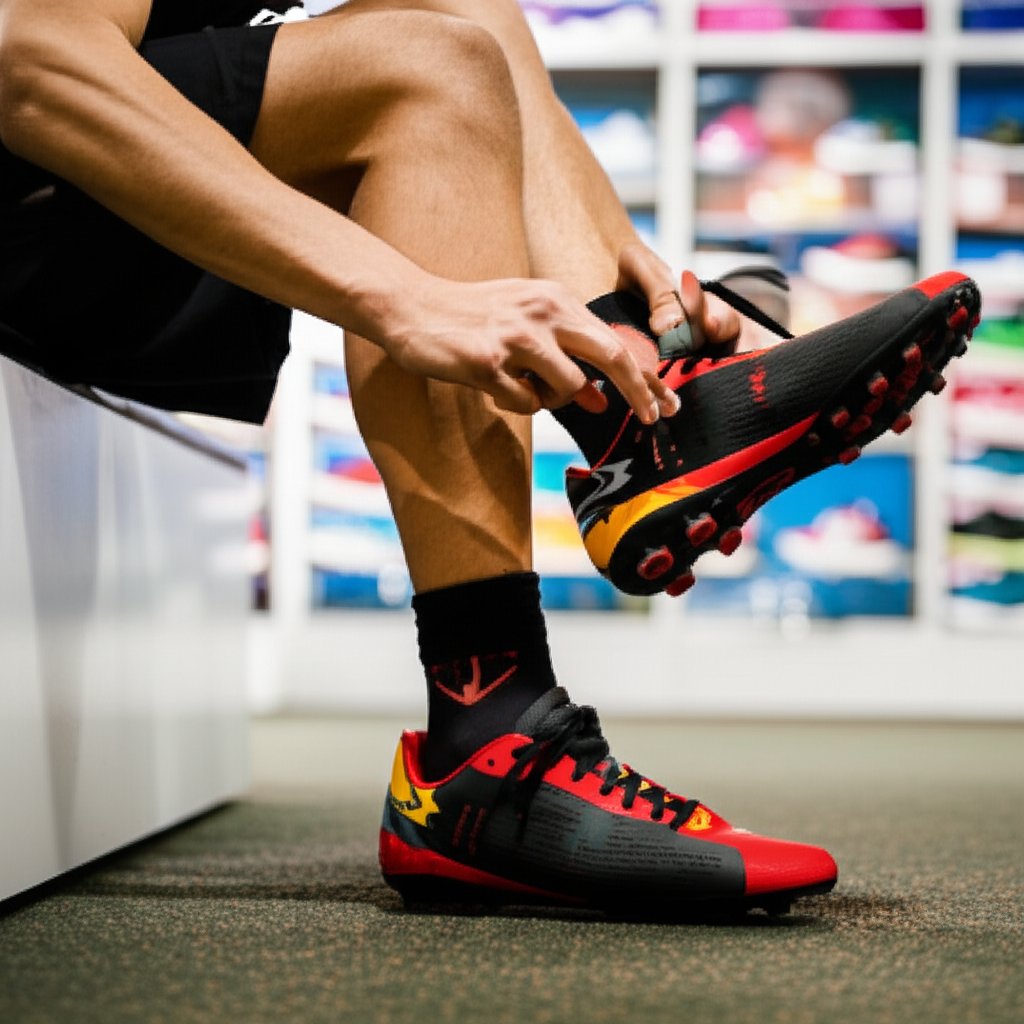
This isn't rocket science, but it does require a bit of mindful trying-on!
- Heel Lock Test: Put the boots on and lace them up snugly, as you would for a game. Stand up and try to lift your heel inside the boot while keeping your foot flat. There should be minimal to no heel lift. If your heel is sliding around, that's a red flag.
- Ankle Hug: The ankle collar should feel snug but comfortable, without pinching or excessive pressure. Move your foot around – flex, point, twist slightly. Does the collar move with you or dig in?
- Stability Check: Do a few quick changes of direction, even a short sprint if the store allows. You should feel secure and supported through your midfoot and heel, not like your foot is rolling within the boot.
- Achilles Comfort: Pay attention to how the top edge of the heel counter and the back of the ankle collar feel against your Achilles tendon. Any pressure or rubbing here will quickly become a problem on the field.
The Trade-offs: Support vs. Flexibility/Weight
It's a balance! Super rigid heel counters can offer maximum stability but might feel a bit restrictive to some players. Conversely, ultra-flexible designs prioritize lightweight comfort but may compromise on the dynamic support needed for AFL's rigours.
Modern boot manufacturers use advanced materials and clever geometries to provide excellent support without adding unnecessary bulk. It's about finding that sweet spot for your individual needs.
Our Top Tips for Choosing
- Prioritise Fit: Above all, the boot must fit your foot. A high-tech heel counter is useless if the overall boot shape isn't right.
- Test Aggressively: Don't just stand there! Mimic game movements. Jump, twist, run. This is the only way to truly assess the lock-down.
- Consider Your Needs: If you've had ankle issues or prefer maximum support, lean towards boots known for robust heel counters and well-padded collars. If you're a nimble winger who prioritizes a barefoot feel, you might tolerate a slightly less structured design.
- Read Reviews (Like Ours!): While personal experience is key, expert reviews can give you insights into the general design philosophy and typical fit characteristics of different models.
The Bottom Line
The heel counter and ankle collar might not be the most glamorous features of your AFL boots, but they are undoubtedly among the most important. They are your unsung heroes, providing the stability, protection, and foundation for every explosive move you make on the field. The next time you're lacing up, take a moment to appreciate these vital components – they're working hard to keep you comfortable, confident, and performing at your peak.
Happy kicking!
The What's Worn Crew